Sunday, May 26, 2013

Spring Entryway Refresh

As spring was approaching this year I was feeling the need to refresh my entryway.  Also, I had a new found obsession with the color mint and I wanted to be able to use it somehwere in my house :)   Below is the entryway before. I am always changing this area depending on the season or the latest party I am throwing, but that is a whole other post!

Before
Sorry for the blurry photo :)
 
A quick coat of primer and a few coats of mint paint, a dark brown glaze, new knobs and I ended up with a nice spring refresh!
After


What do you think does it make you think spring?

Tuesday, May 21, 2013

You Can Paint Anything!!

Hello all!! I am so sorry I have been MIA for the last two weeks. I have been traveling for work and am now home and ready for new projects.  I have had a few questions regarding painting furniture and cabinets and I wanted to share my ways of doing it.  I have two different approaches, there are a ton of great tutorials out there from experts, but this is my way of doing it long before the era of Pinterest.

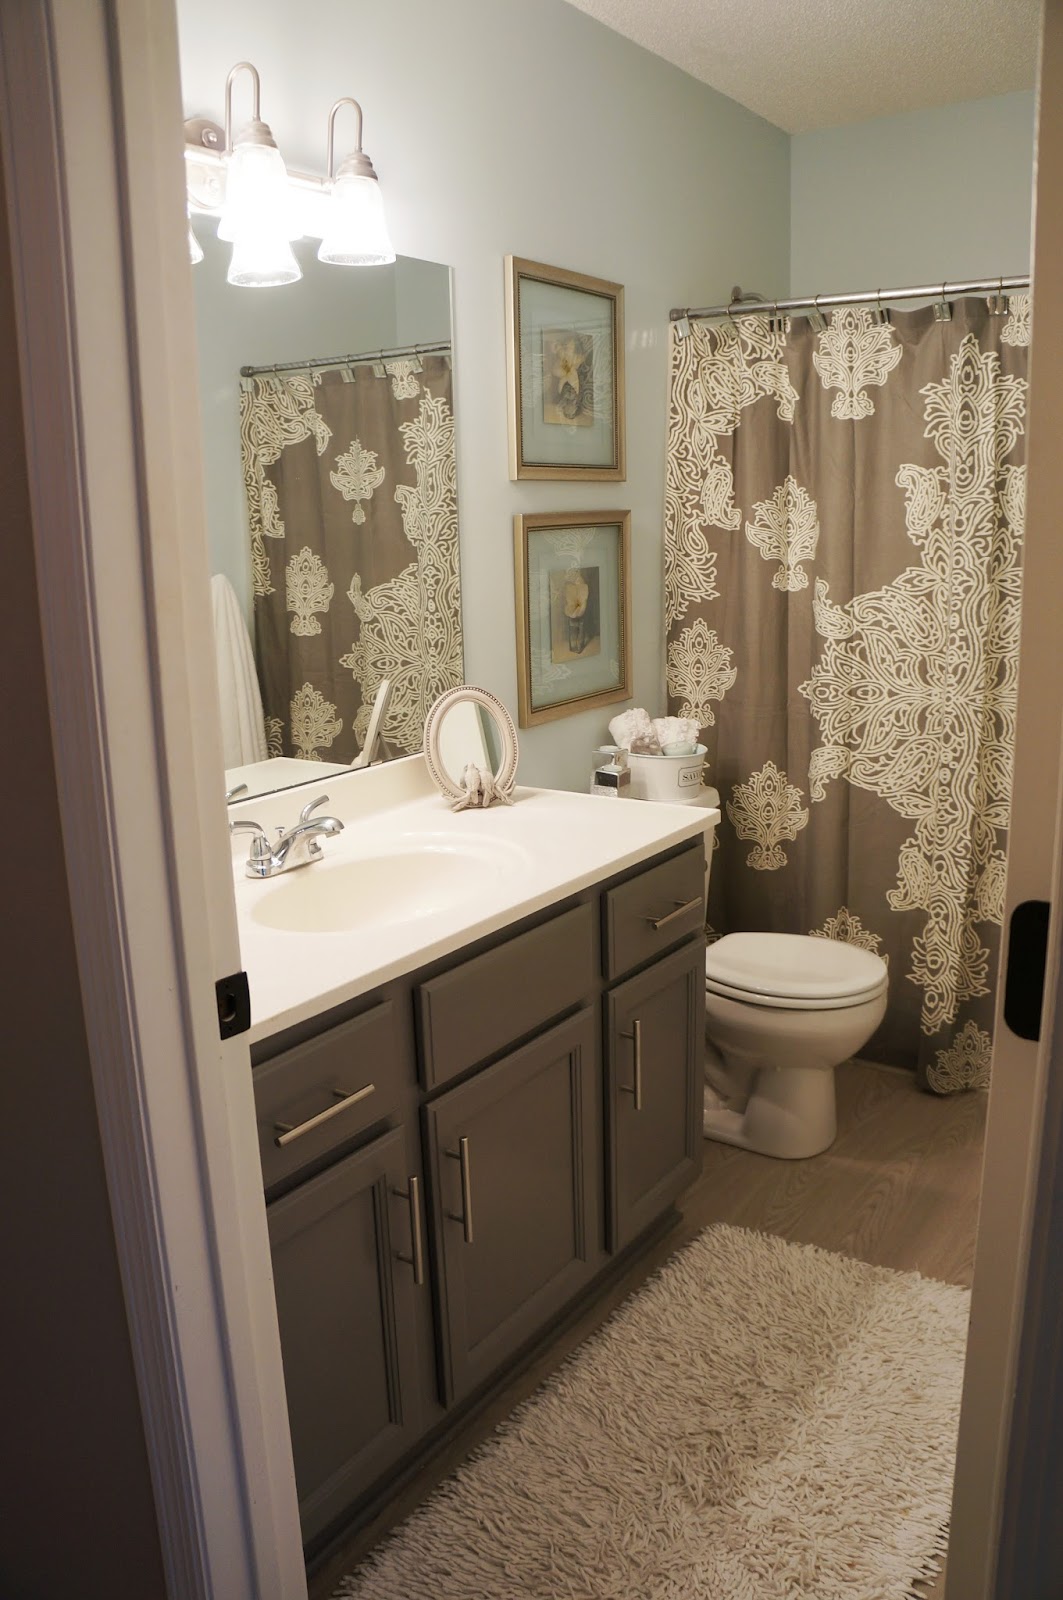
#1- My first way is easier in the way of clean up and has seemed to hold up really well on more than one piece I have done.  In my last post I showed our bathroom before and after and I used method #1 for these cabinets.  First before doing anything remove all of your hardware and and doors that you can. The drawers are attached by a few screws and it is very easy to remove the faces.

Note the mess that is under the sink and don't judge :)   After the doors and hardware are removed sand the whole piece.  On this particular piece I used a paint and primer all in one from Lowes. I always use a semi-gloss due to the fact that I like a piece to wipe down easily and to have nice finish to it.


  I like to first get in the crevasses with a brush and then go over the whole piece with a small foam roller.  For a piece like your vanity a quart is more than enough.  For the doors and drawers I like to lay them out in the hubbys workshop or any dry clean space.


Propping each door up on a small can of paint is extremely helpful so that you can reach all of the sides. Improvise however you see fit.  In between each coat lightly sand and wipe down with a dry cloth.  Two coats will usually cover the piece, but it is dependent on the piece and the color you choose.  The color I chose for this particular piece is called, Suede Gray in a semi-gloss enamel.


Wait approx. 2 days for the piece to cure before putting on the doors and the hardware.


#2- Way number two is exactly the same as #1 except I like to use an oil based paint from Benjamin Moore called Satin Impervo.  My mother in law has been using this paint for years and it is tried and true.  A few places I suggest using oil is anywhere that gets a lot of wear and tear and needs a thick coat to it, such as, kitchen cabinets and trim.  We used this on every piece of white in our house and it has stood up to the test of time. No chips!!!  The white we used in our house is white dove.


 Just remember you can paint anything!  I will be back this week to share another piece I recently refreshed for my entryway. Have an amazing week!! 


Thursday, May 2, 2013

Bathroom Redo- The Before, middle, after and the always changing!!

So, this could definitely be broken up into a few different posts, which I will be revisiting in the future. For today I want to show you the beginning the middle and the after of our ever changing "kids bathroom".  I know, I know you may be thinking you don't even have kids.  This is true, but hopefully someday we will and then they will use this second bathroom upstairs.  Lets start at the beginning, as you can see it was a lovely bathroom wrapped in floral wall paper, linoleum flooring and that ohh so beautiful powder blue toilet seat.
Like the rest of the house the bones of this bathroom were good and we were able to leave the vanity and bathtub.  The vanity needed a nice coat of paint (now changed since the original coat) and the tub was in pretty good shape with some scrubbing by my mother.  Thanks mom!!

Here it is in it's first stage of renovation. It took us two cans of paint to find the right color, but we landed on a really nice pale blue and tiled the floor with a 12x12 grey tile.  Just so you know when I say "we" tiled, the "we" always involves my mother-in-law, the tiling expert. She rocks and is always beyond helpful.  After a few years and a few more changes the bathroom was starting to look a little like this.
Don't get me wrong it was a very nice bathroom and I like the crispness of the white, but I had been mulling over repainting the vanity to a dark grey for awhile.  What can I say Pinterest can inspire you :) Also, the floor grout had started to crack.  We still are not quite sure why this happened, but we tried redoing it a few times and it just continually kept cracking so that also meant new flooring. Perfect timing for a bathroom makeover. Here it is in all of its madeover glory. New floors, painted dark grey cabinetry, shower curtain and a few new accessories.


There are so many additional details like what type of flooring we used, paint colors and how I painted the cabinets.  This will come later in a separate post. In the meantime I hope you enjoy the before and after below.