
Back this week with a quick post on my new pillow that I showed you HERE. This was one of the easiest projects and may be one of my favorite DIY's ever. I am not joking. I want to make 100's of these pillows and put them in every room of my house. Okay, that may be a bit of an exaggeration, but I do love it!!! If you follow me on Pinterest you will see my board Pillow Love that is filled with beautiful designs. It gave me the inspiration to DIY something much less expensive. I started with a Gurli pillow from Ikea, acrylic paint, painters tape and a stencil brush. All in all The project cost me under $10!
 First I layed a large X in the middle and started filling v's around it as a place holder. Once the row was on I would pull off my place holder and put it on to the next row.


Then I used my stencil brush to make sure there was nice coverage without it seeping under the tape.
 After the X was all completed I taped off the edges around the seam and i painted it a dark gray color.
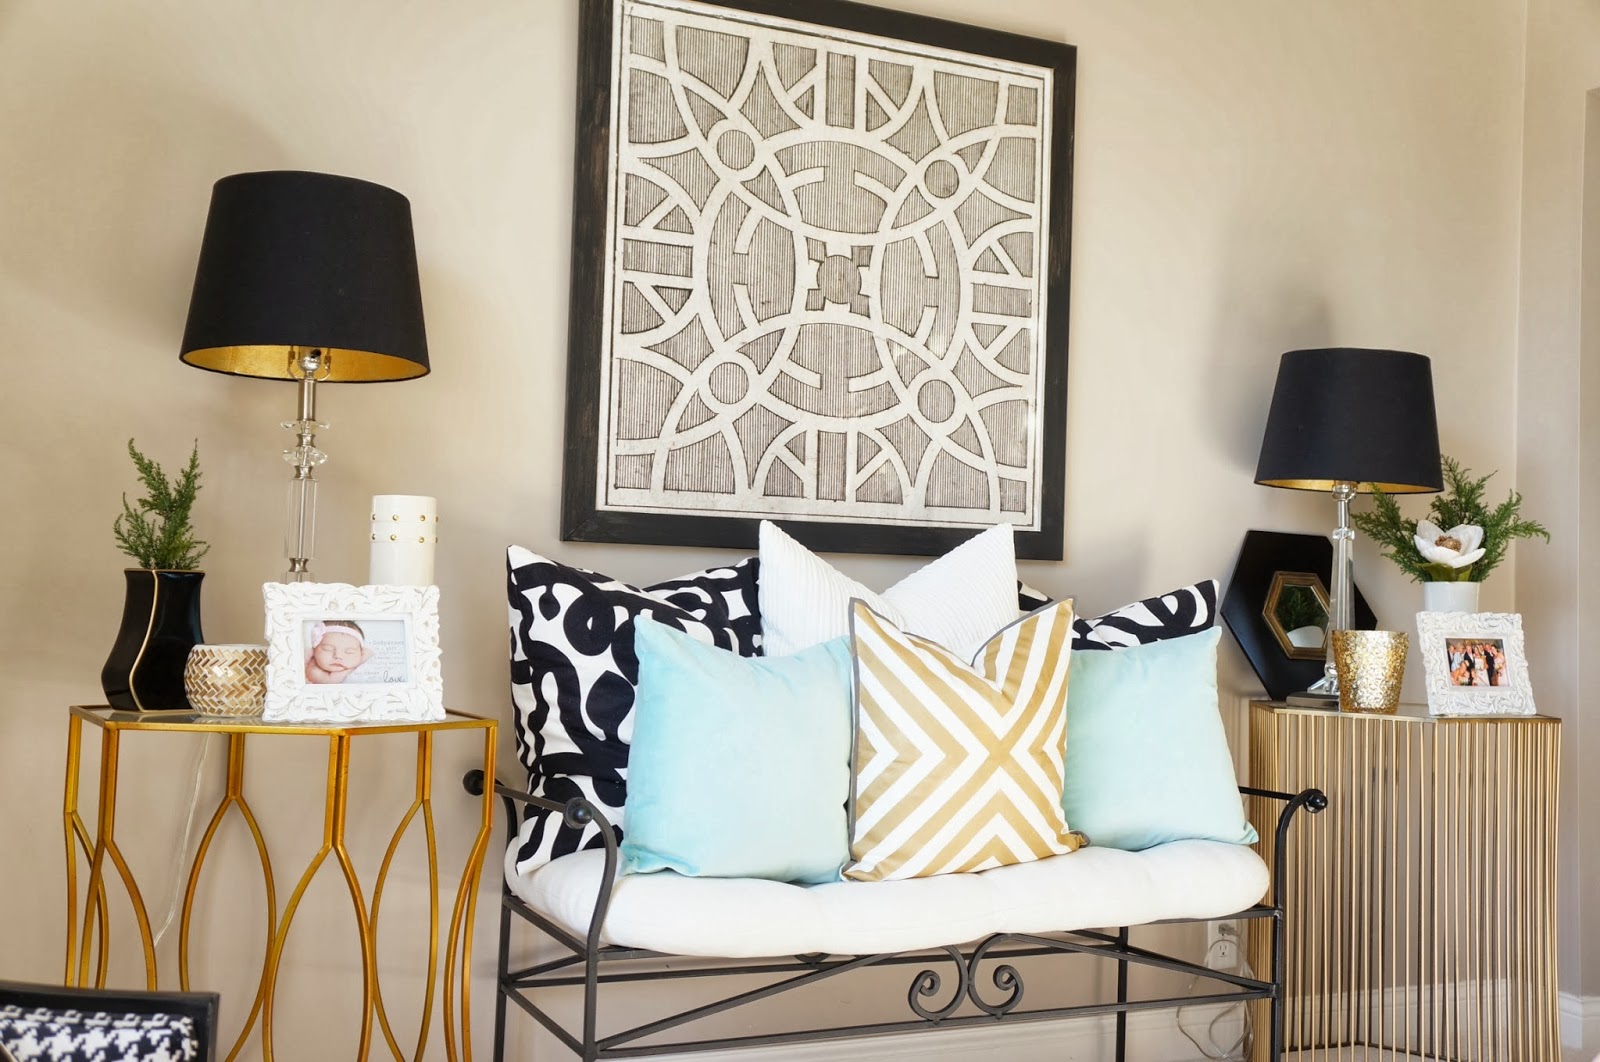
 Pictures tell such a better story. Here is the beautiful metallic pillow all finished.


 What do you think? Did you check out my pillow love Pinterest board? There is a lot of inspiration there and you will see many more techniques to come. Happy Friday!!!


ahh I LOVE this. I think this pillow is going to be added to my list of things to pick up this weekend when I hit up ikea...so i can make my own!! great job!
ReplyDelete